イントロダクション
LWJGL GitBookのChapterを写経しながら理解していきます。Git(ソース)はこちら。。。
Introduction
LWJGL We will understand GitBook ‘s chapter while shooting. Git (source) is here. . . Last time I did Chapter 5so We will do Chapter 3 this time. Let’s get sarted!.
https://ahbejarano.gitbook.io/lwjglgamedev/chapter5
レンダリング
ついに来ました、今回初めからLWJGLを学ぶことにした理由の部分です。→3D描画方法がわからなかったんですね。。。
プログラム起動準備
使用しているクラス(ファイル)は名前が同じですが、差分があるはずなのでそれを確認します。Eclipseにはファイルマージ機能があるのでそれを使用します。
- 比較するファイル(フォルダ)を選択する
- 右クリックして「Compare」を選択する
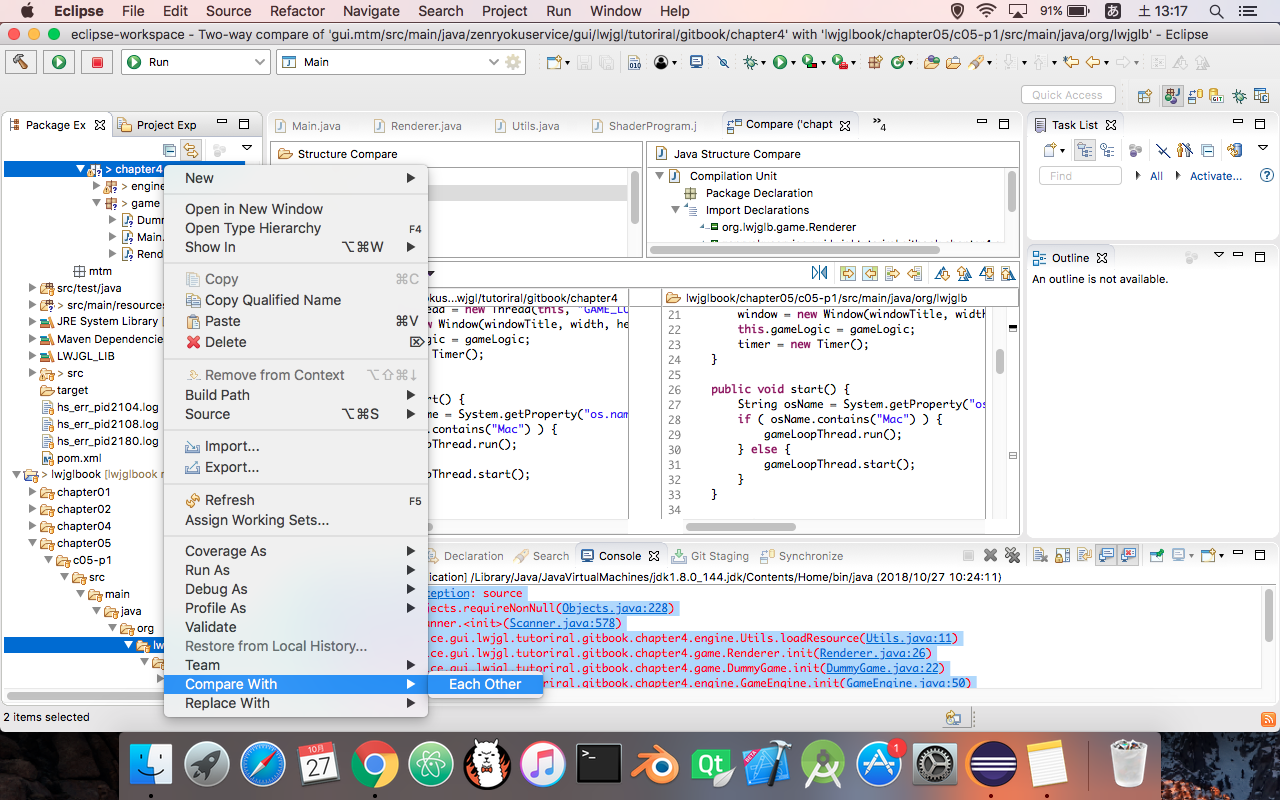
こんな感じで表示されますのでそれを比較して差分を無くします(マージします)。
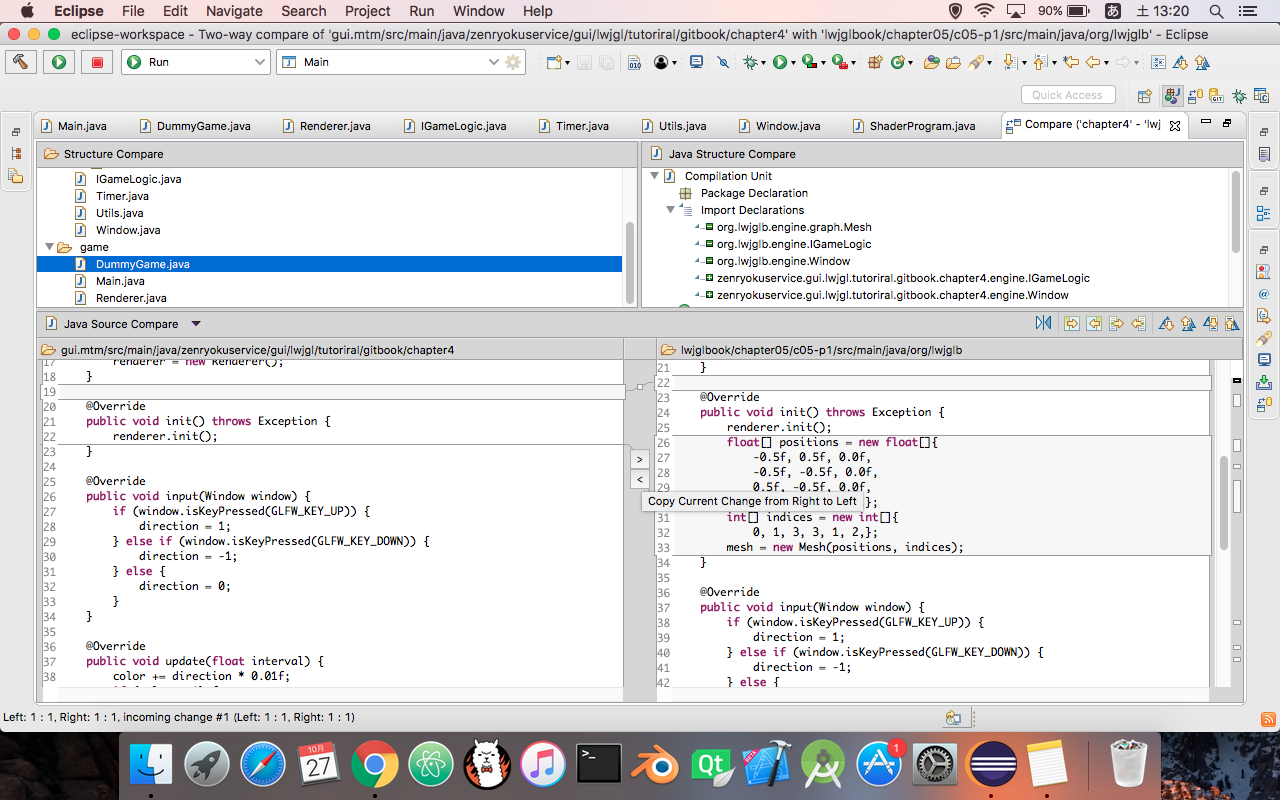
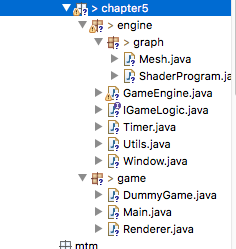
マージしてクラスを自分のプロジェクト内に配置しました。パッケージ名を修正するだけでした。
そして実行
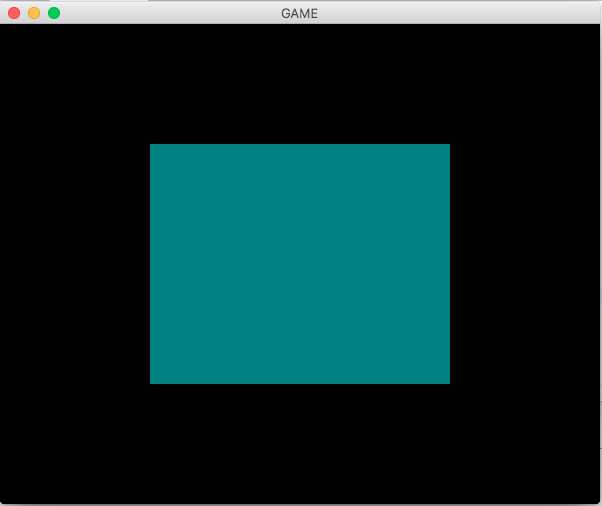
今回は四角を描画する様です。一応、Chapter2でやった十字キーで色が変わる機能もついています。Chapter3,4もついてます。コードいじってないので(笑)
コードを読む(Read Code)
今までに見て来た部分は割愛します。
- Chapter1[外枠の表示のみ]
- Chapter2-1〜クラスの構成〜
- Chapter2-2〜インターフェースの使い方と詳細〜
- Chapter2-3〜GameEngineクラス(サンプルクラス)〜/li>
- Chapter2-4〜Windowクラス(サンプルクラス)〜
- Chapter3〜描画処理を読む〜
- Chapter4〜シェーダについて〜
Meshクラスを作成して描画する
Chapter4に比べて追加になったMeshクラスから見ていきます。結論から言うとMeshクラスで細かい描画部分をまとめてしまう様にソースを修正した様です。
import java.nio.FloatBuffer;
import java.nio.IntBuffer;
import static org.lwjgl.opengl.GL11.*;
import static org.lwjgl.opengl.GL15.*;
import static org.lwjgl.opengl.GL20.*;
import static org.lwjgl.opengl.GL30.*;
import org.lwjgl.system.MemoryUtil;

public class Mesh {

    private final int vaoId;

    private final int posVboId;

    private final int idxVboId;

    private final int vertexCount;

    public Mesh(float[] positions, int[] indices) {
        /* Chapter3、4では描画する準備でやったことです */
        FloatBuffer posBuffer = null;
        IntBuffer indicesBuffer = null;
        try {
            vertexCount = indices.length;

            vaoId = glGenVertexArrays();
            glBindVertexArray(vaoId);

            // Position VBO
            posVboId = glGenBuffers();
            posBuffer = MemoryUtil.memAllocFloat(positions.length);
            posBuffer.put(positions).flip();
            glBindBuffer(GL_ARRAY_BUFFER, posVboId);
            glBufferData(GL_ARRAY_BUFFER, posBuffer, GL_STATIC_DRAW);
            glVertexAttribPointer(0, 3, GL_FLOAT, false, 0, 0);

            // Index VBO
            idxVboId = glGenBuffers();
            indicesBuffer = MemoryUtil.memAllocInt(indices.length);
            indicesBuffer.put(indices).flip();
            glBindBuffer(GL_ELEMENT_ARRAY_BUFFER, idxVboId);
            glBufferData(GL_ELEMENT_ARRAY_BUFFER, indicesBuffer, GL_STATIC_DRAW);

            glBindBuffer(GL_ARRAY_BUFFER, 0);
            glBindVertexArray(0);
        } finally {
            if (posBuffer != null) {
                MemoryUtil.memFree(posBuffer);
            }
            if (indicesBuffer != null) {
                MemoryUtil.memFree(indicesBuffer);
            }
        }
    }

    public int getVaoId() {
        return vaoId;
    }

    public int getVertexCount() {
        return vertexCount;
    }

    public void cleanUp() {
        glDisableVertexAttribArray(0);

        // Delete the VBOs
        glBindBuffer(GL_ARRAY_BUFFER, 0);
        glDeleteBuffers(posVboId);
        glDeleteBuffers(idxVboId);

        // Delete the VAO
        glBindVertexArray(0);
        glDeleteVertexArrays(vaoId);
    }
}
ポイント
DummyGameクラスのfloat配列が3行ではなく4行になっているところ
        float[] positions = new float[]{
            -0.5f, 0.5f, 0.0f,
            -0.5f, -0.5f, 0.0f,
            0.5f, -0.5f, 0.0f,
            0.5f, 0.5f, 0.0f,};
        int[] indices = new int[]{
            0, 1, 3, 3, 1, 2,};
        mesh = new Mesh(positions, indices);
Meshクラスで描画部分をまとめたのでgl〜のメソッドが消えている
glDrawElementでVertexの数を指定しているところが三角形と四角形の違いなのか?
ちょっと遊んでみる
今回の「遊んでみるポイント」は下の行です。
    @Override
    public void init() throws Exception {
        renderer.init();
        float[] positions = new float[]{
            -0.5f, 0.5f, 0.0f,
            -0.5f, -0.5f, 0.0f,
            0.5f, -0.5f, 0.0f,
            0.5f, 0.5f, 0.0f,};
        int[] indices = new int[]{
            0, 1, 3, 3, 1, 2,};
        mesh = new Mesh(positions, indices);
    }
今回はここまでにしておきます。
